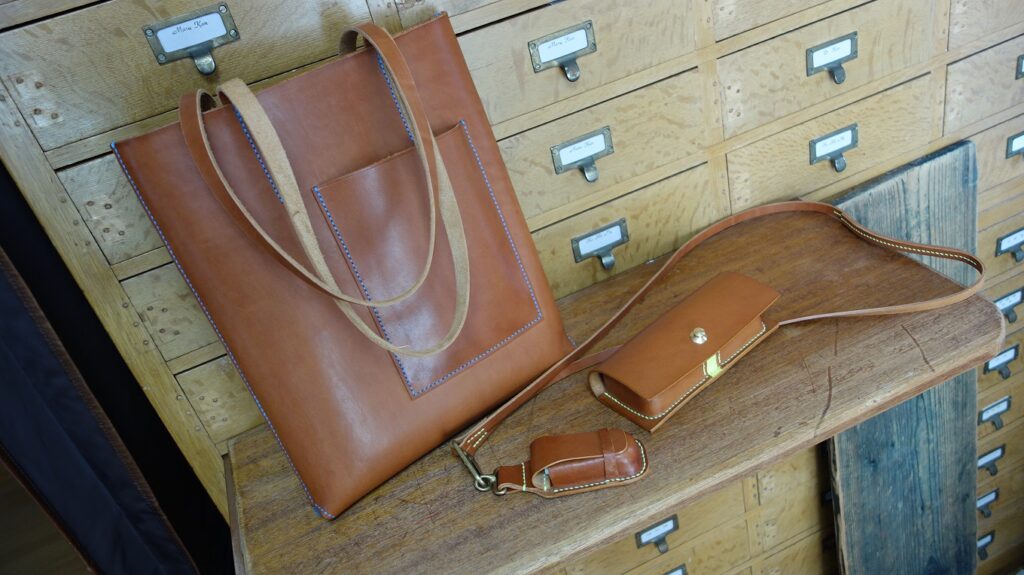
久しぶりの会員さんのメイキングの投稿になりますが、ご自身で購入した栃木レザーのワイルドという革を使ったシリーズです。トートバッグから作り始め、同時に小物の作成です。
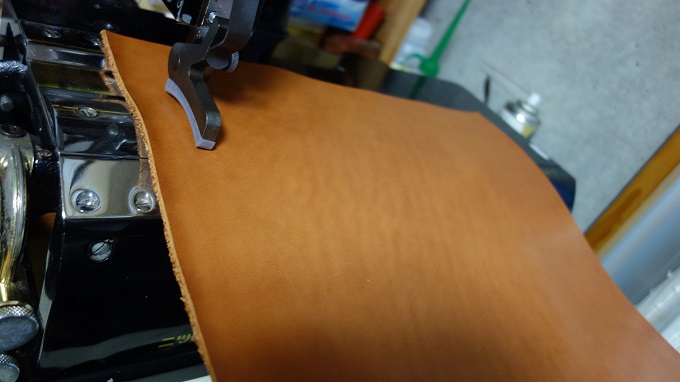
元厚は3.5㎜のとても厚い革ですが、革を粗裁ちして1.8㎜ほどの厚みに漉きを入れてからの作成になりました。
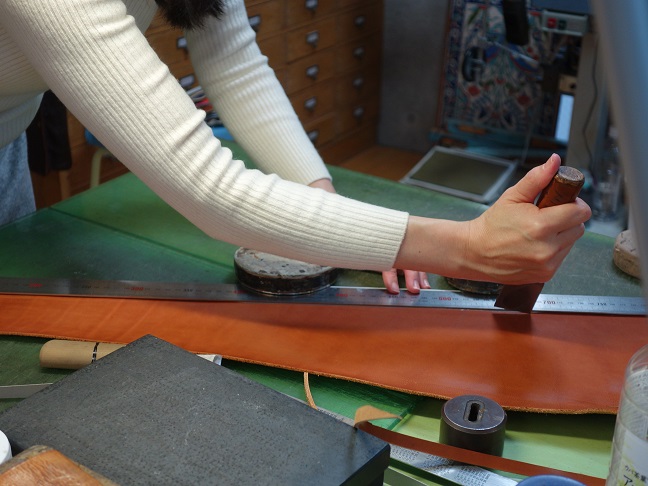
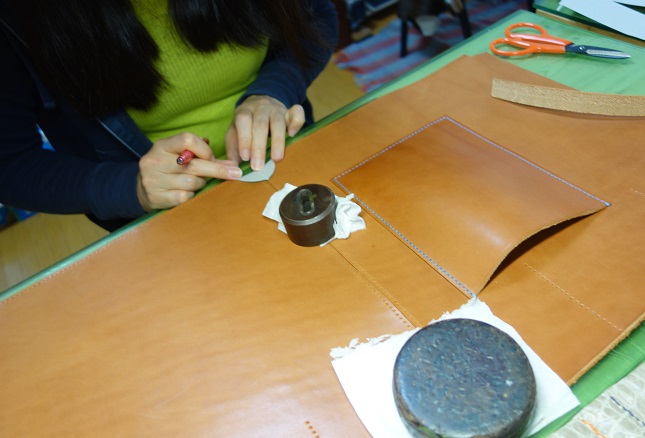
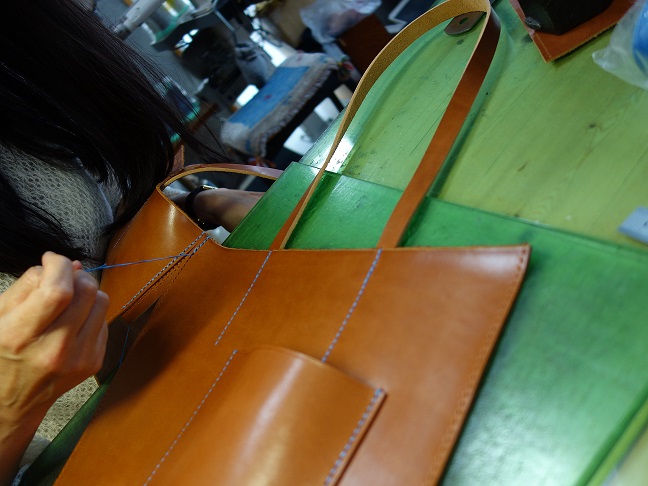
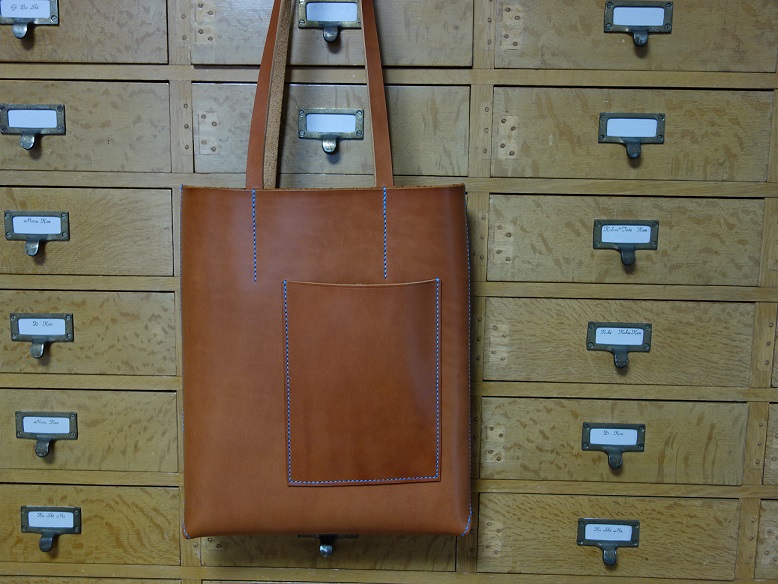
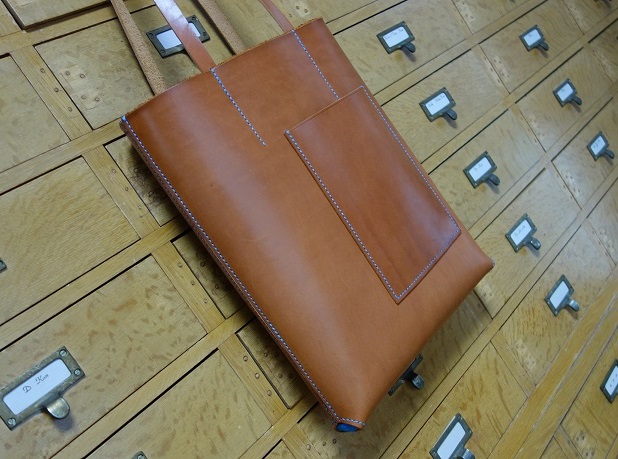
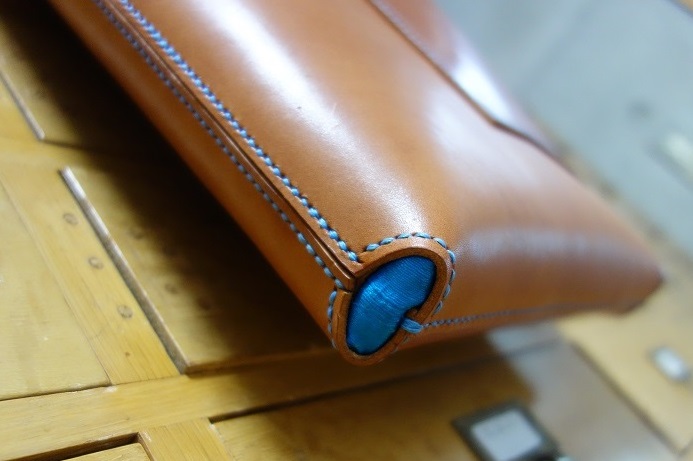
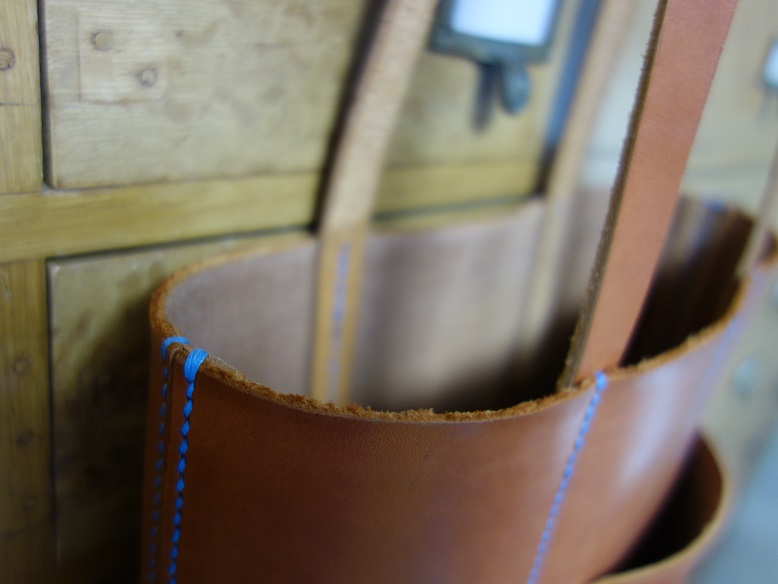
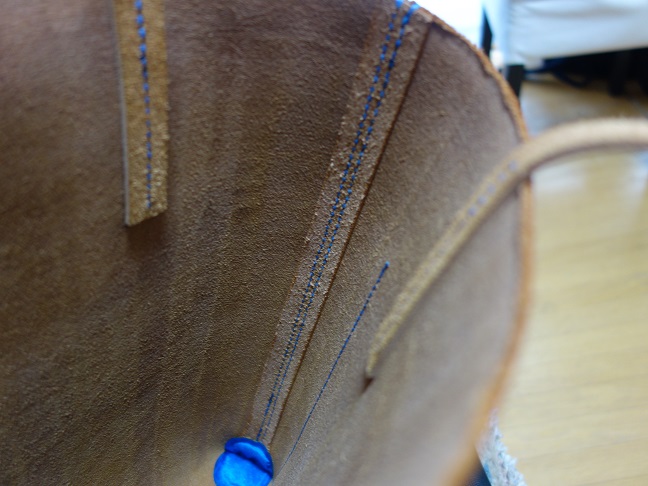
サイドと底にマチをとり、前後2枚の革で形にしたとてもシンプルなトートバッグです。携帯電話が入る外ポケットと底角に窓を開け、鮮やかなスエードを覗かせて遊びを入れてあります。
・ ・ ・
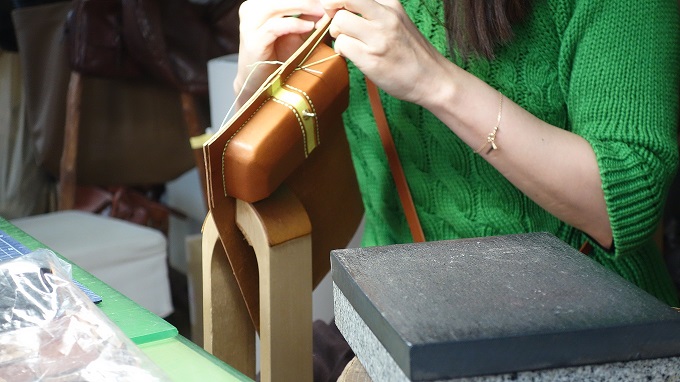
次は型絞りのメガネケースに挑戦・・・

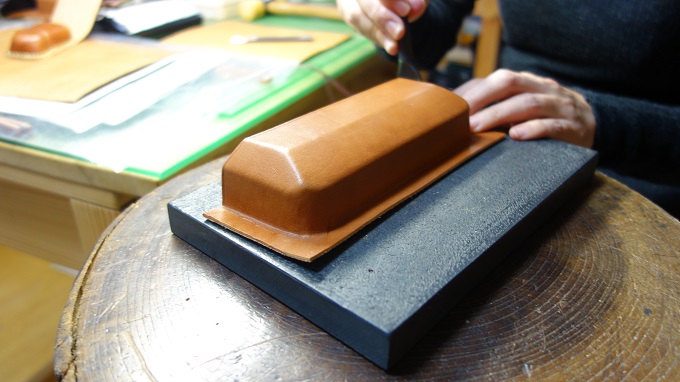
木型を作り水に濡らした革を木型にかぶせて絞っていきます。1週間自然乾燥させた後、木枠から取り外します。
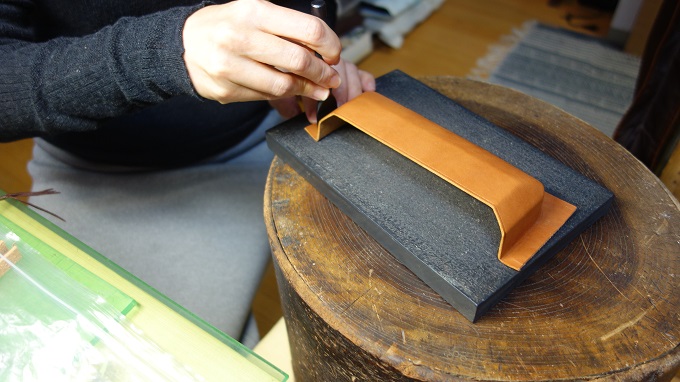
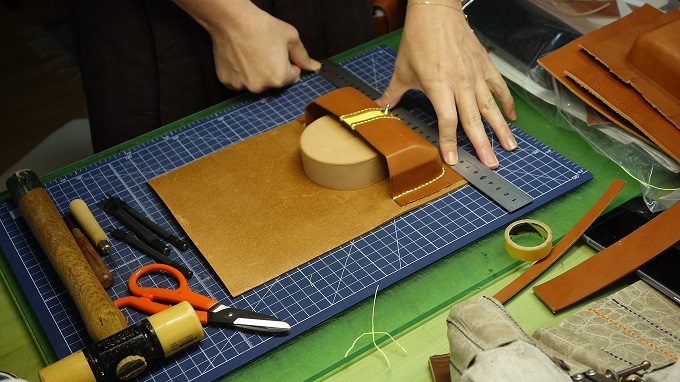
縫い代を残し、眼鏡の入る入口をカットした後、ふたが一体となった背胴と縫い合わせする簡単な仕様です。
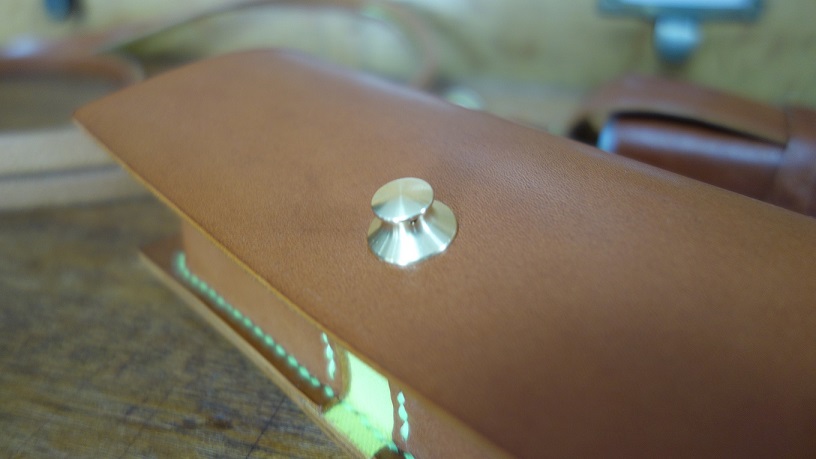
ドイツホックの留め具を取り付けたら完成です。小さなつまみボタンを指で引き上げると外れるホックでとても贅沢なホックです。
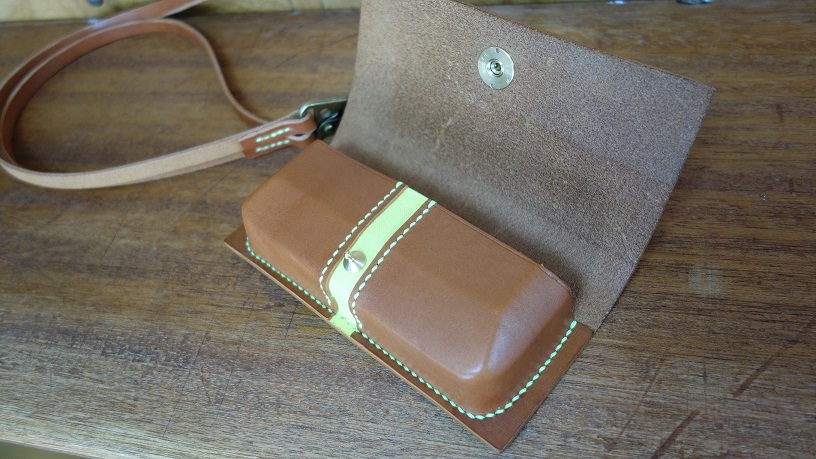
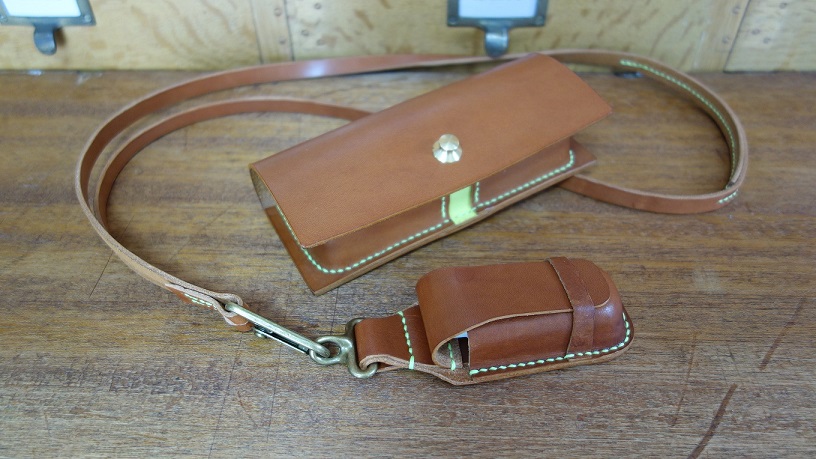
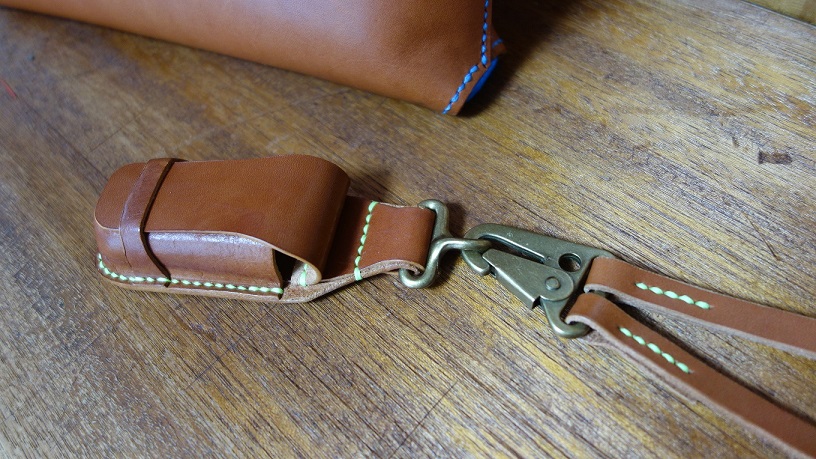
コロナ禍事情につき、首からぶら下げられる消毒用ハンドジェルのケースも作りました。ナチュラルなレザーには似つかない蛍光色の附属生地やステッチを上手に合わせたTjさんらしい作品です。 お疲れさまでした。